
Image Generation
Generate visuals from your research.
Image Generation
Image generation on Cortex Canvas creates visuals from your connected research.
This is where you generate the images you later attach to articles and social items in the content editor.
What you can do with images
-
Generate images from your connected research and sources.
-
Generate an image prompt from that connected input.
-
Refine an image with editing instructions.
-
Attach the finished images to articles and social items.
-
Generate an and edit existing images without any connected research.
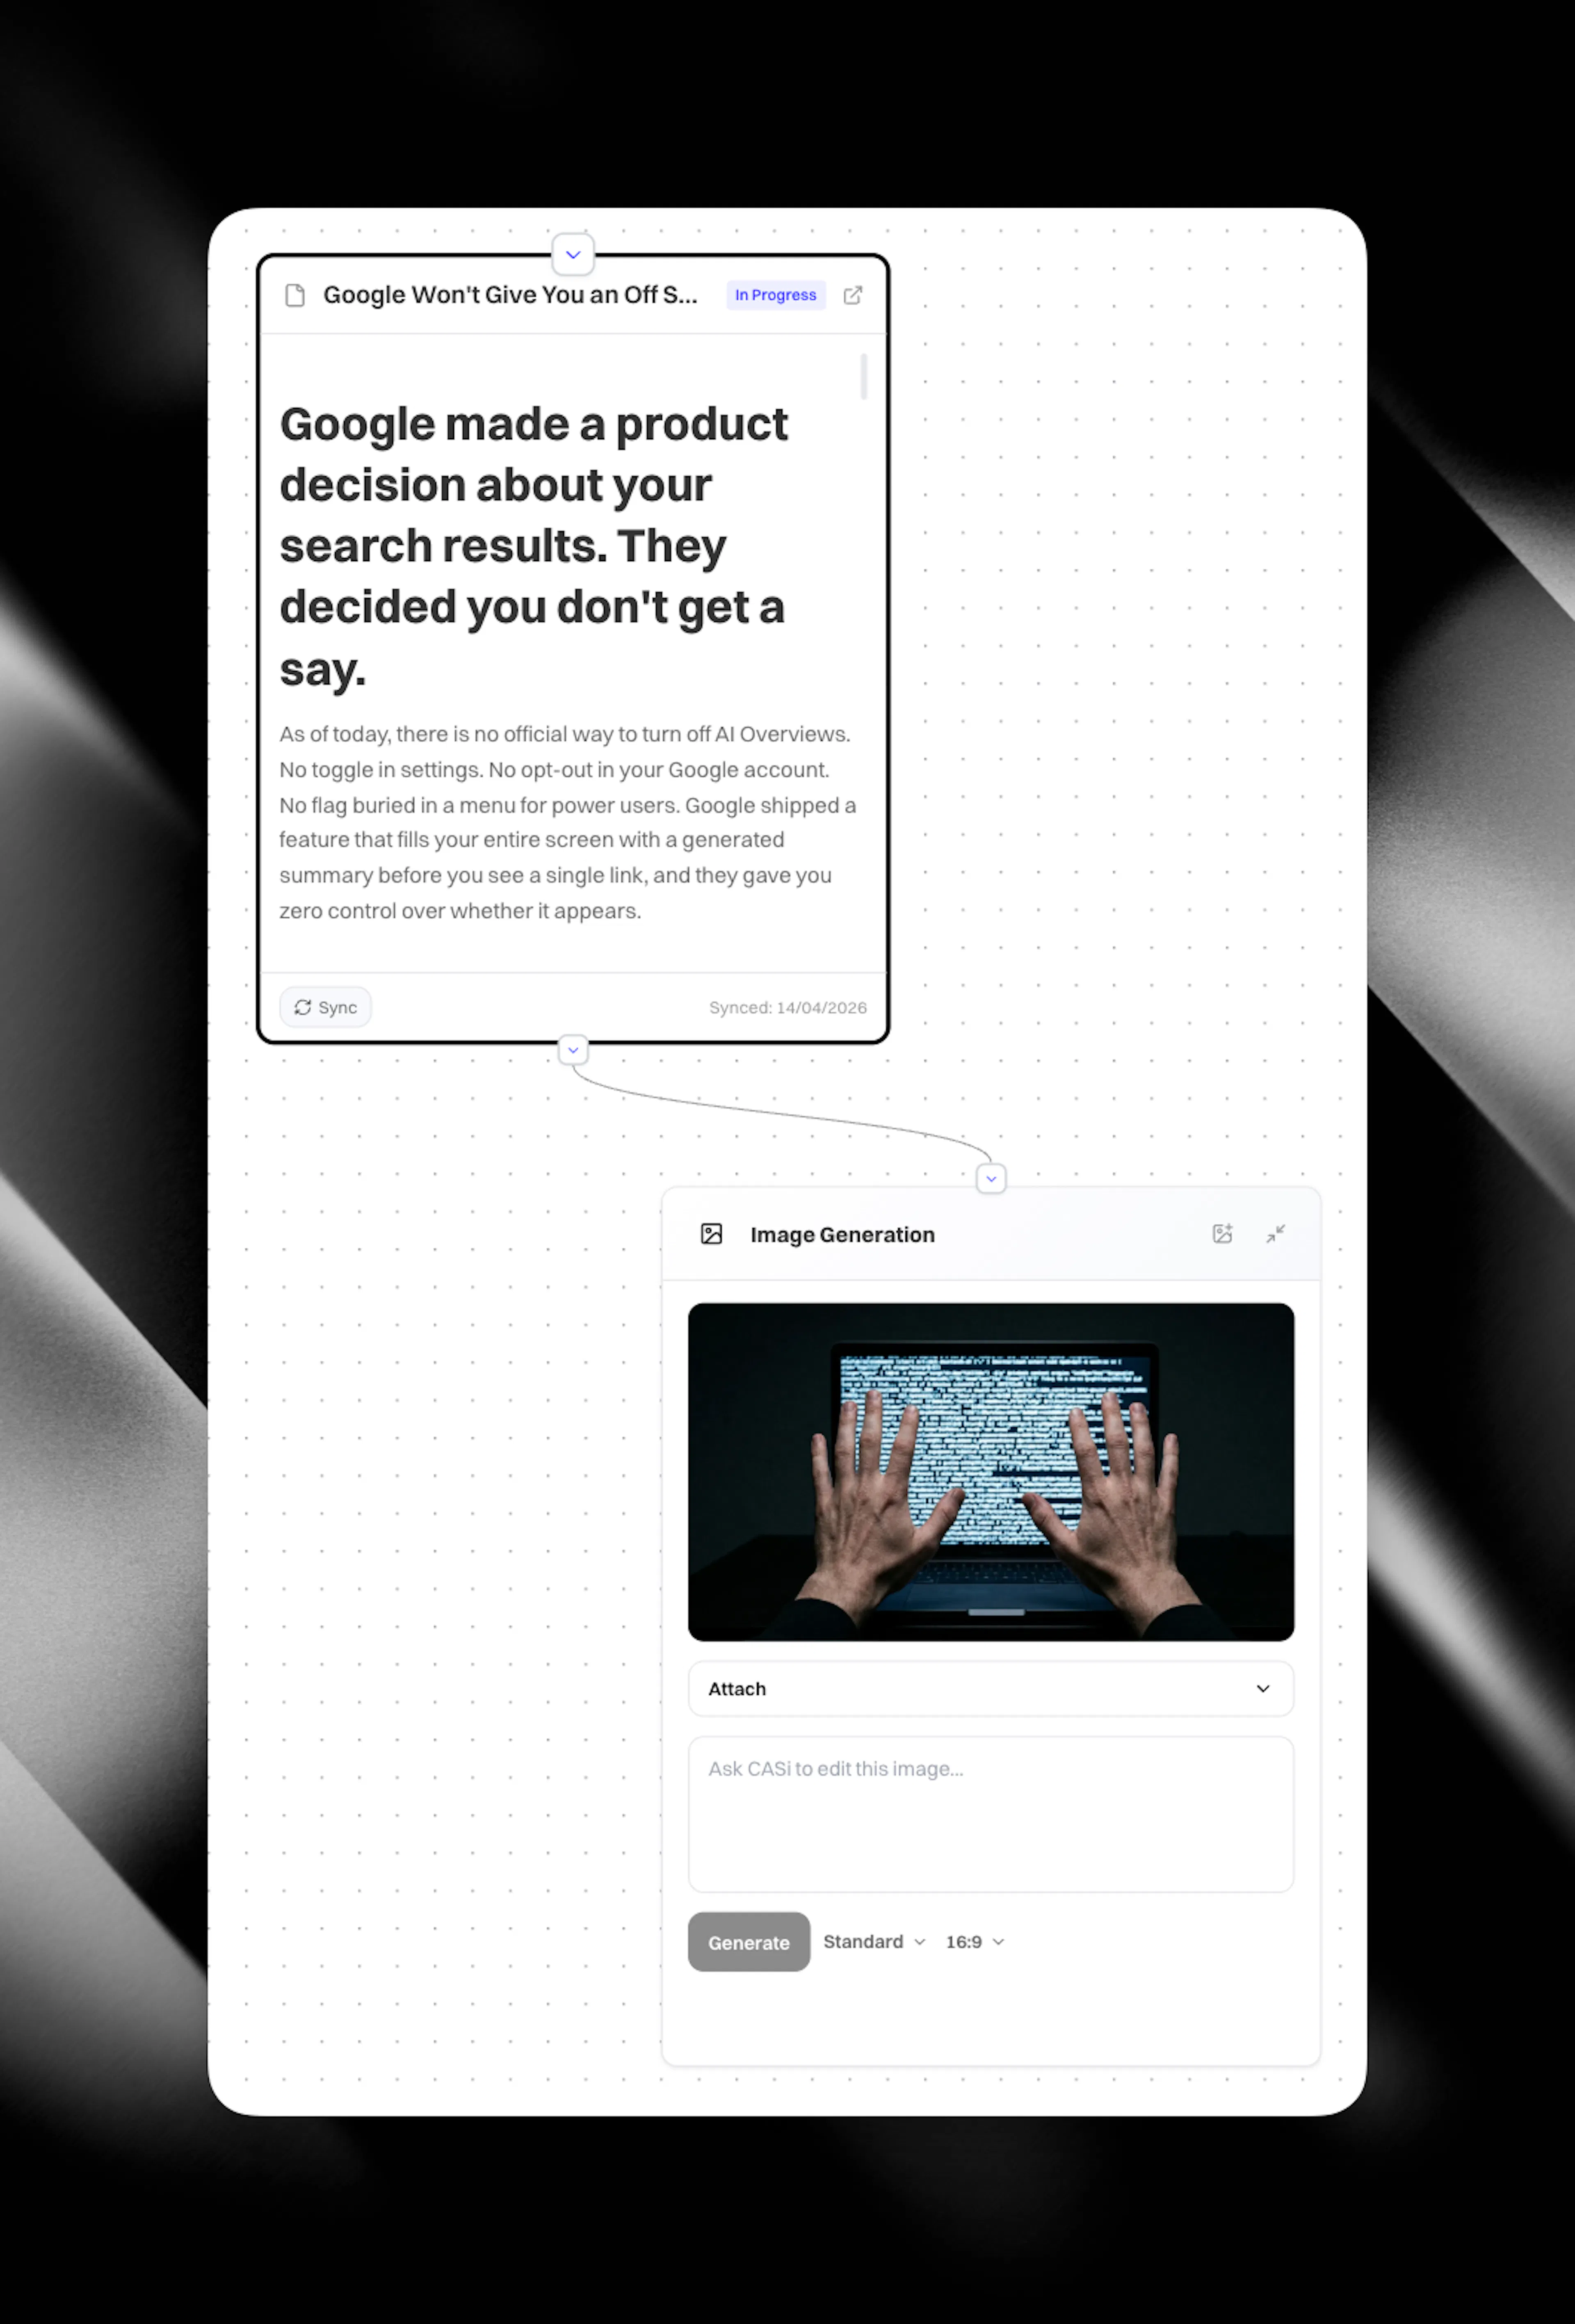
Generate an image from the canvas
This is the only place where you generate images.
-
Add an Image node to your canvas.
-
Connect the nodes you want the image to draw from.
-
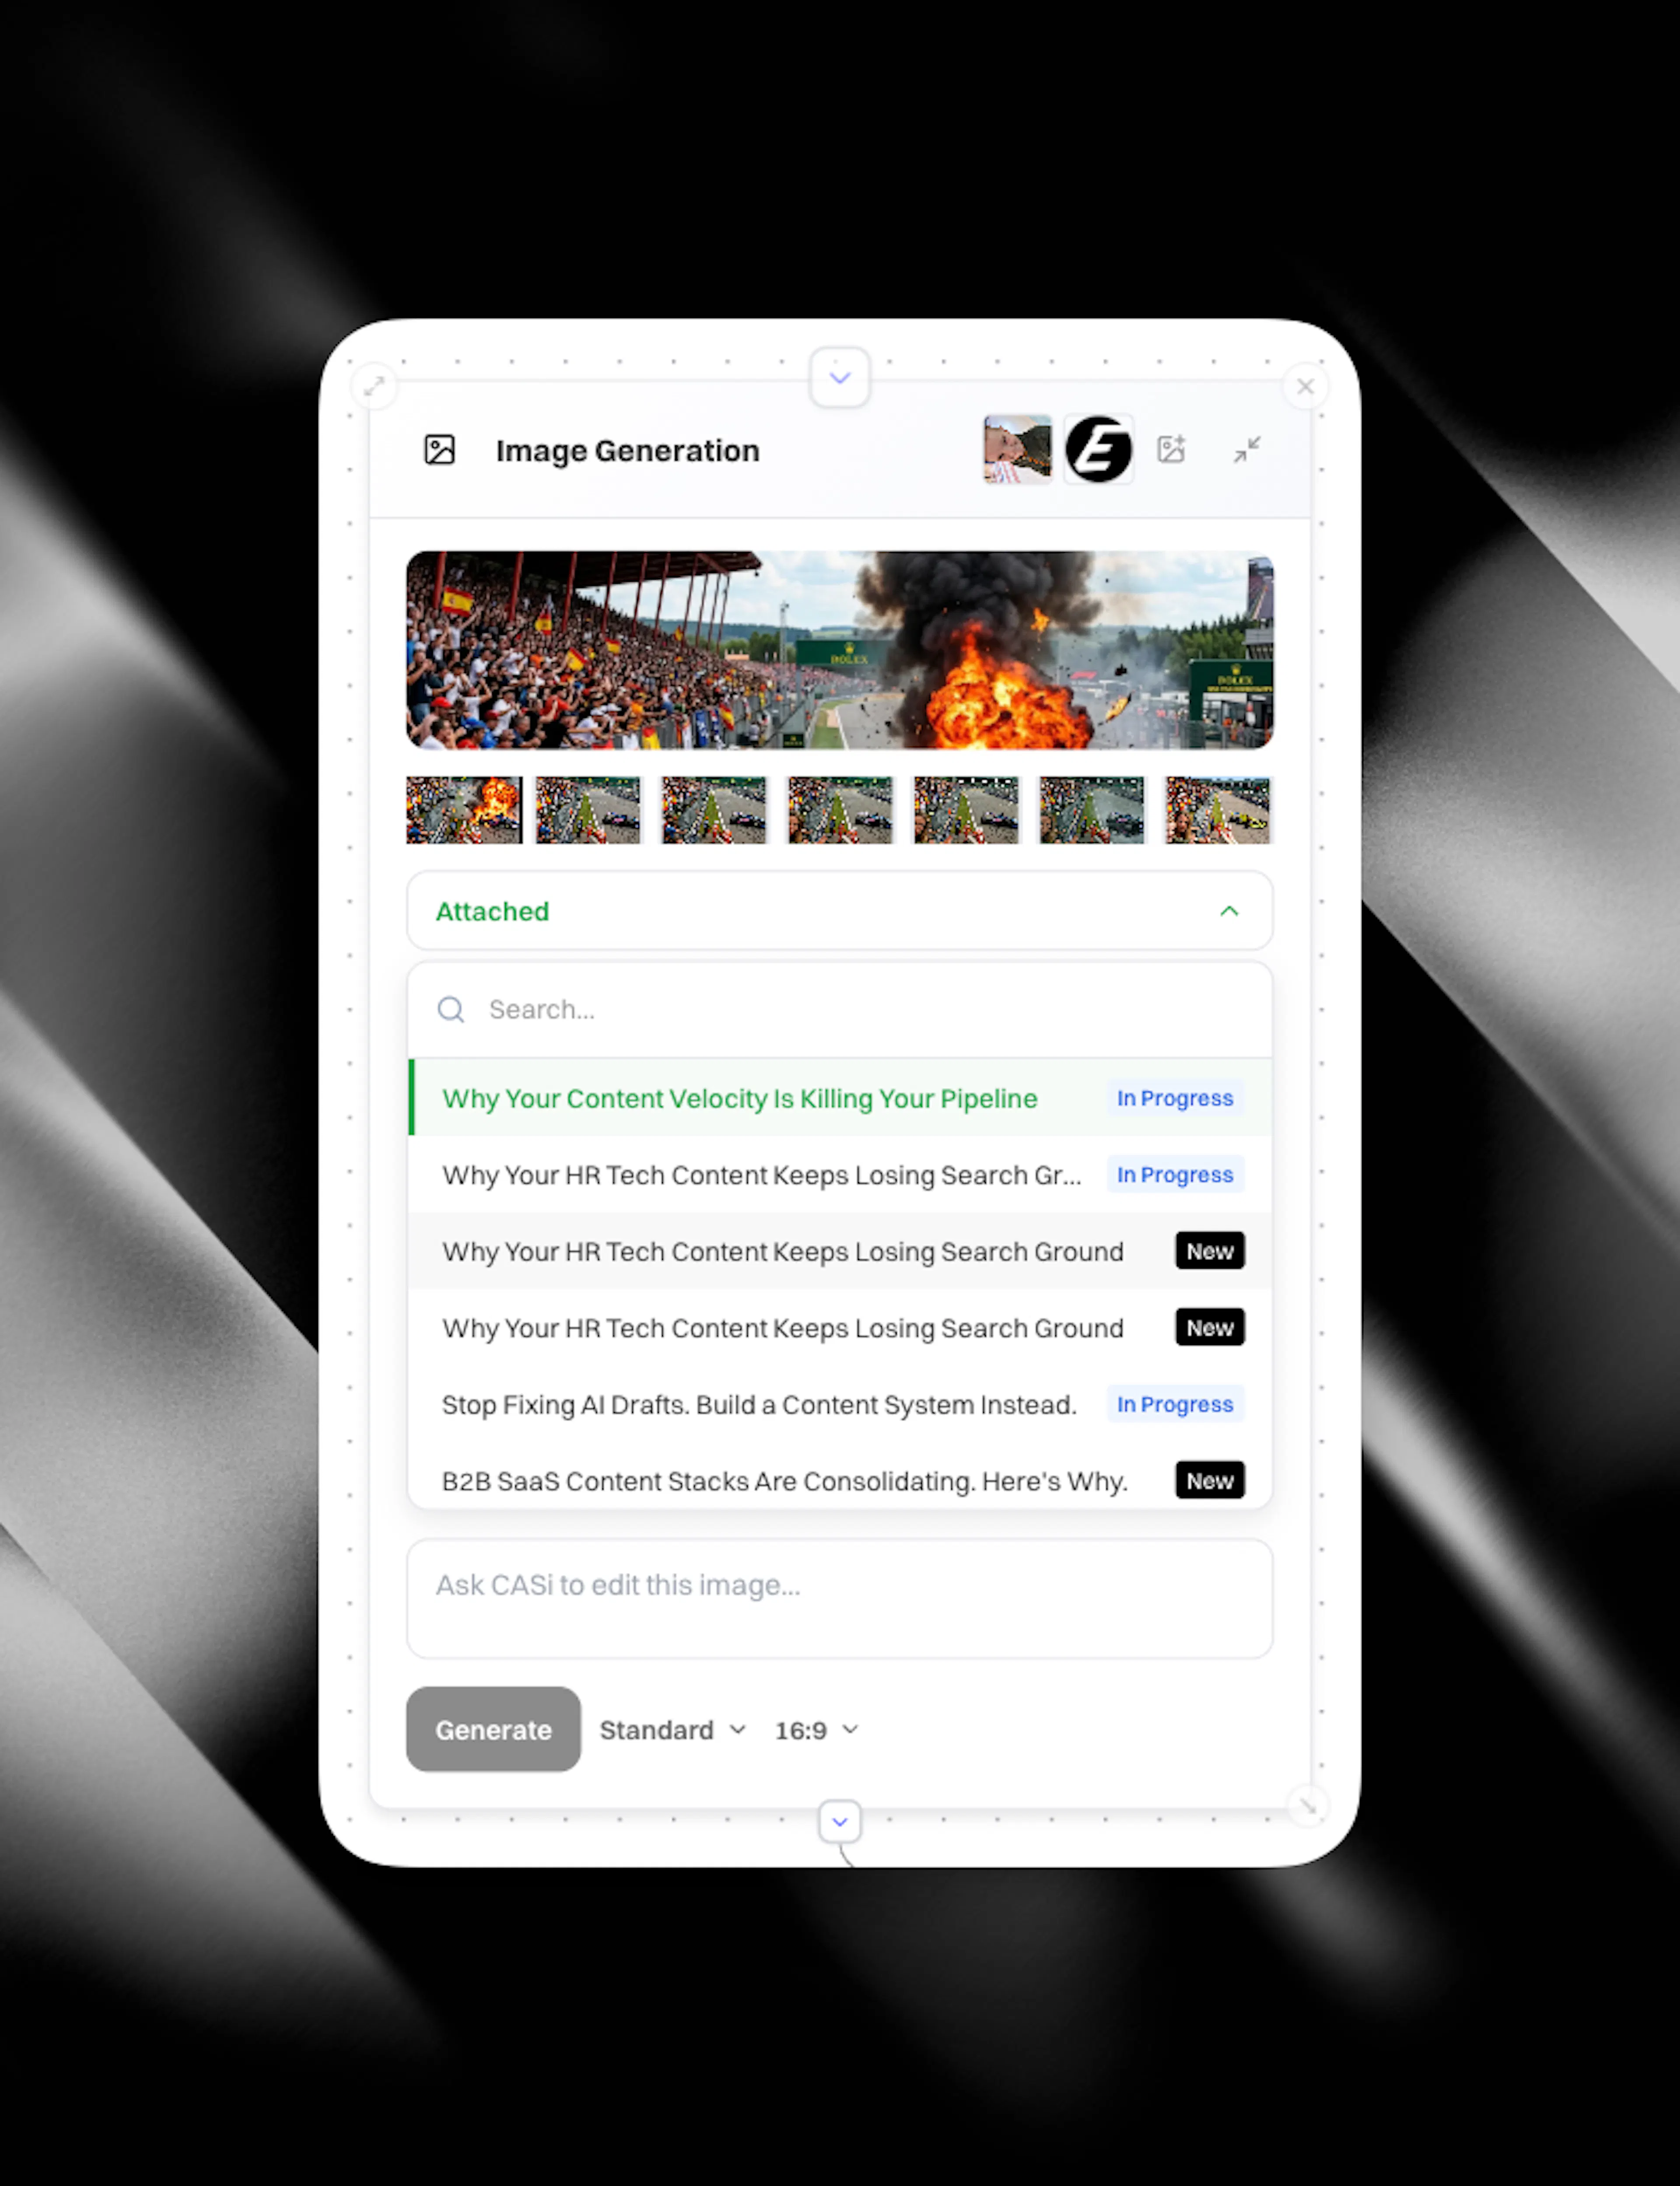
Click 'generate brief' and an image prompt will appear using your connected research as source material. Alternatively, you can write the prompt yourself without connecting any source nodes.
-
Choose:
-
Size: 16:9, 4:3, 1:1, 3:4, 9:16
-
Mode:
-
Fast for quick iterations
-
Standard for everyday quality
-
Pro for higher-quality results
-
-
-
Add any reference images you want to ground the output. Reference images are optional but are great for adding people, logos and other brand assets.
-
Click 'Generate'.
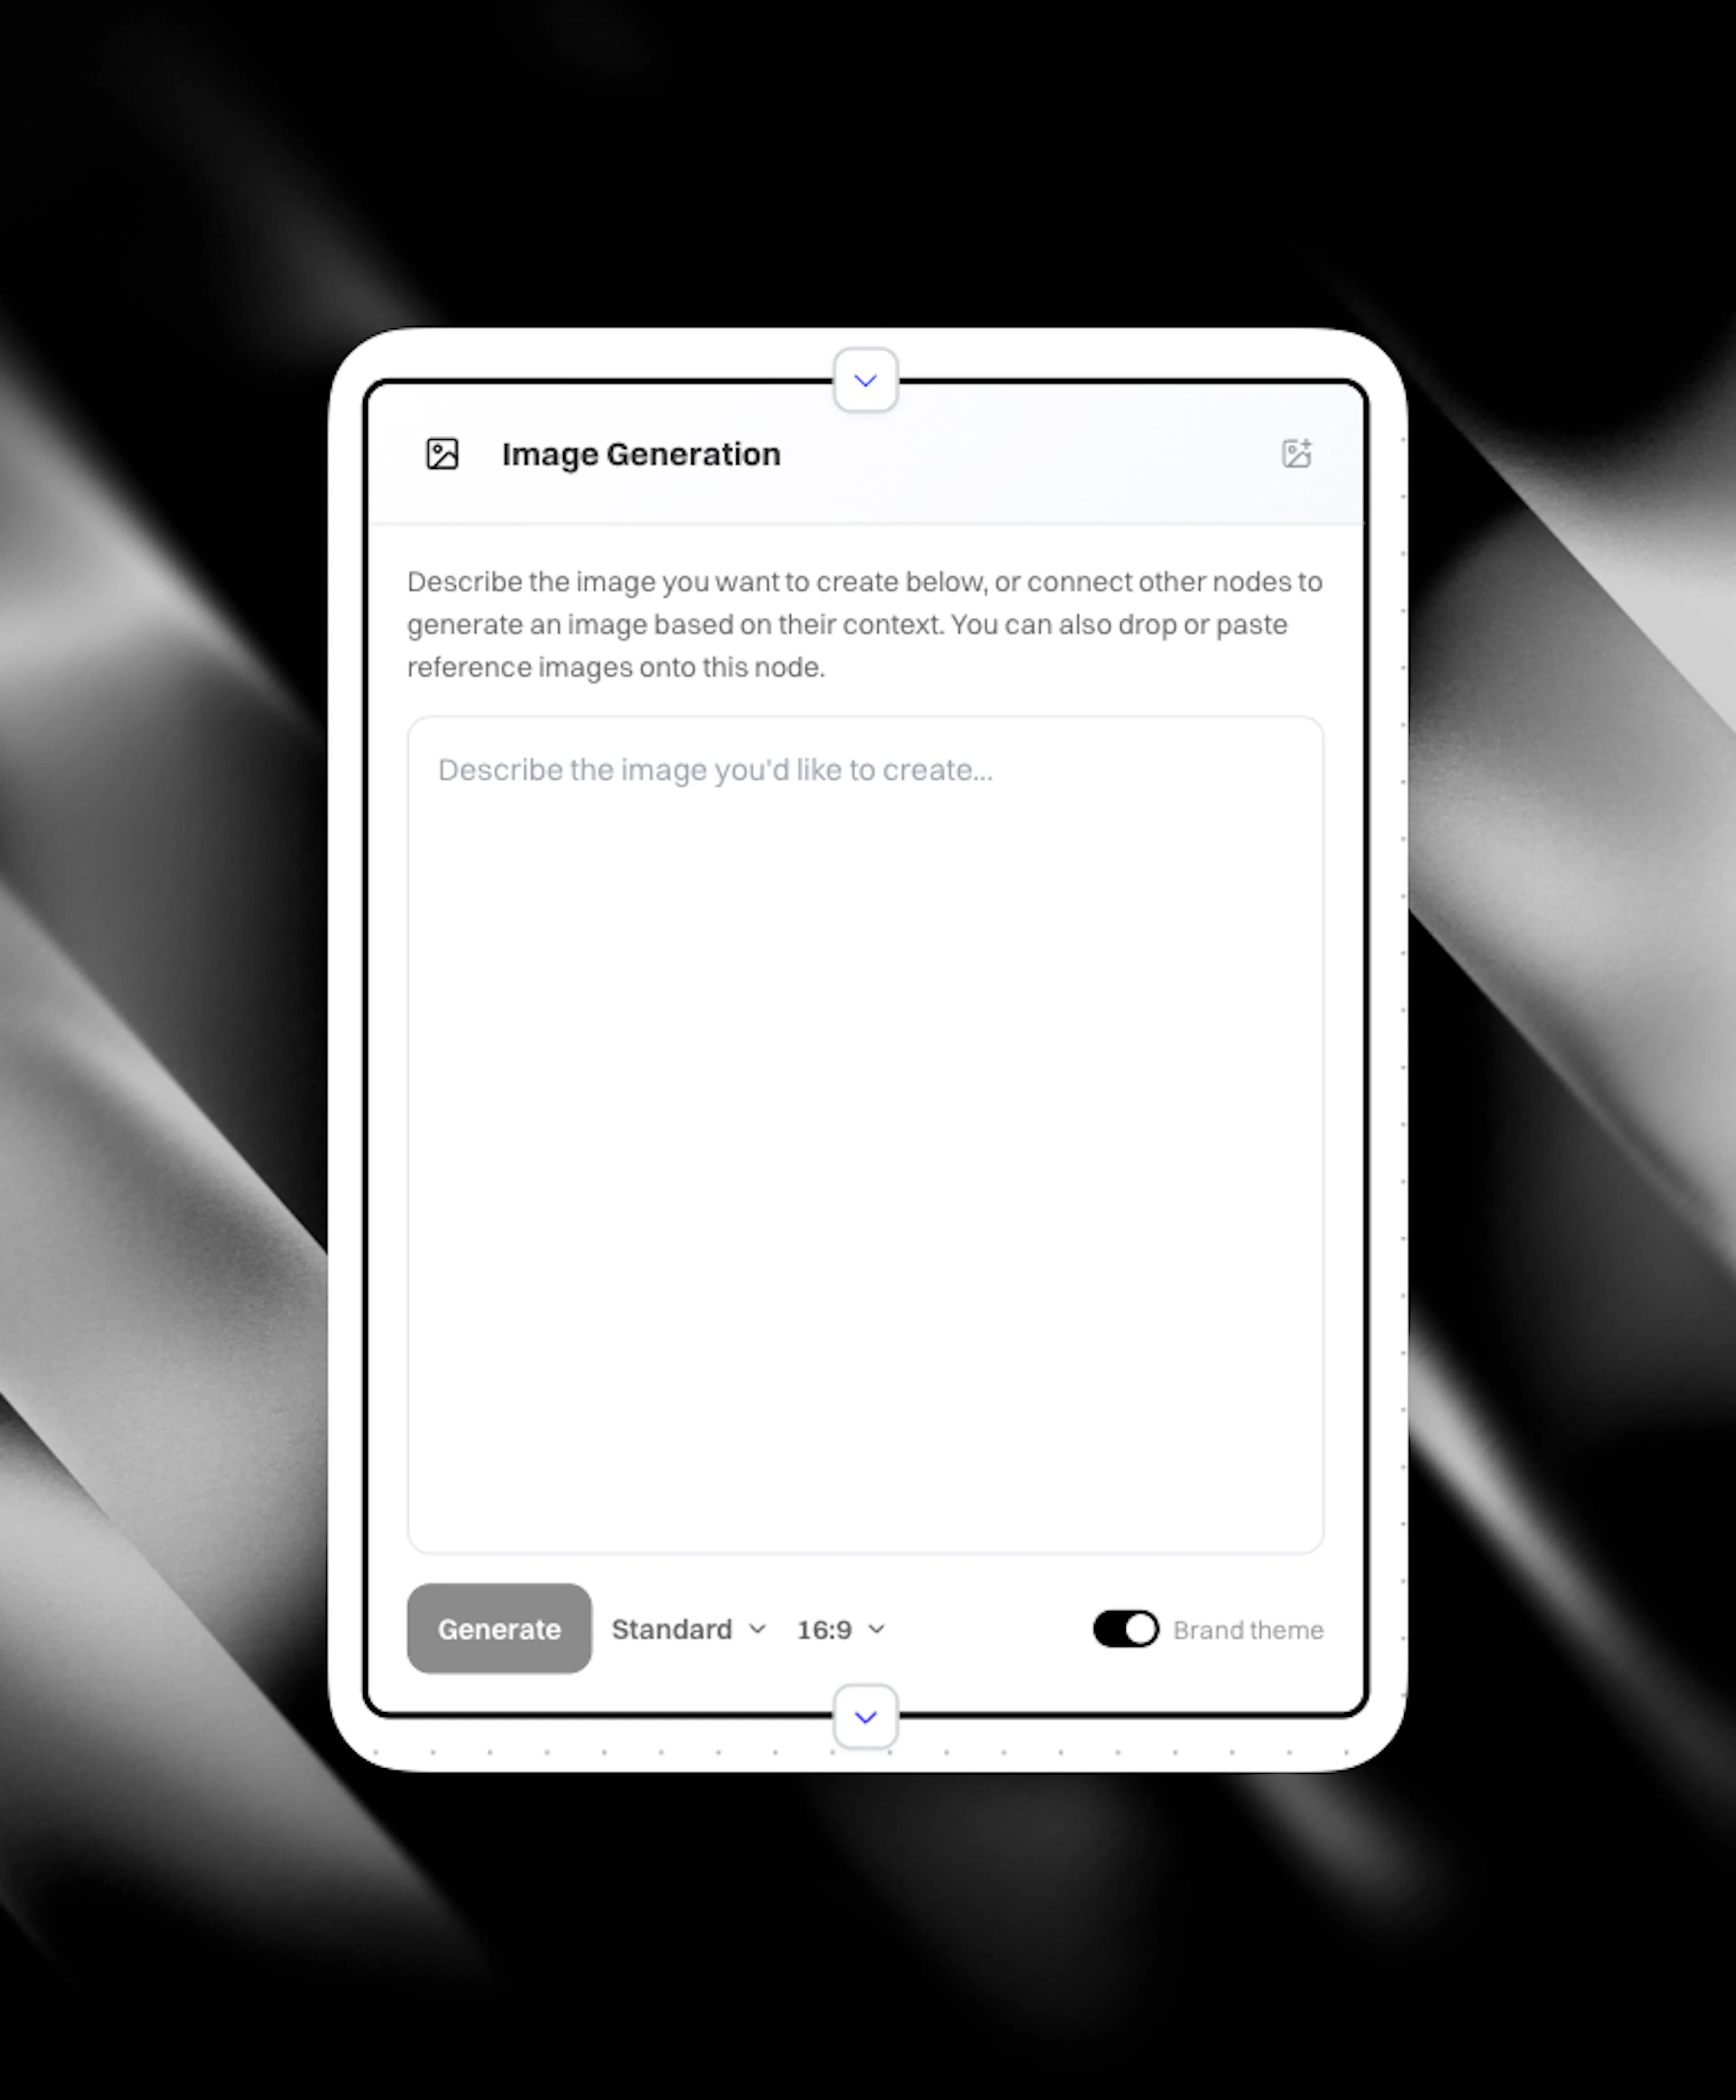
Using your brand theme
Every client has an image theme setting on their client settings page.
When generating from an Image node, you can toggle that brand theme onor off:
-
On: your image theme is combined with your prompt and connected canvas context, so the result stays on-brand.
-
Off: the image is generated from your canvas context and prompt only.
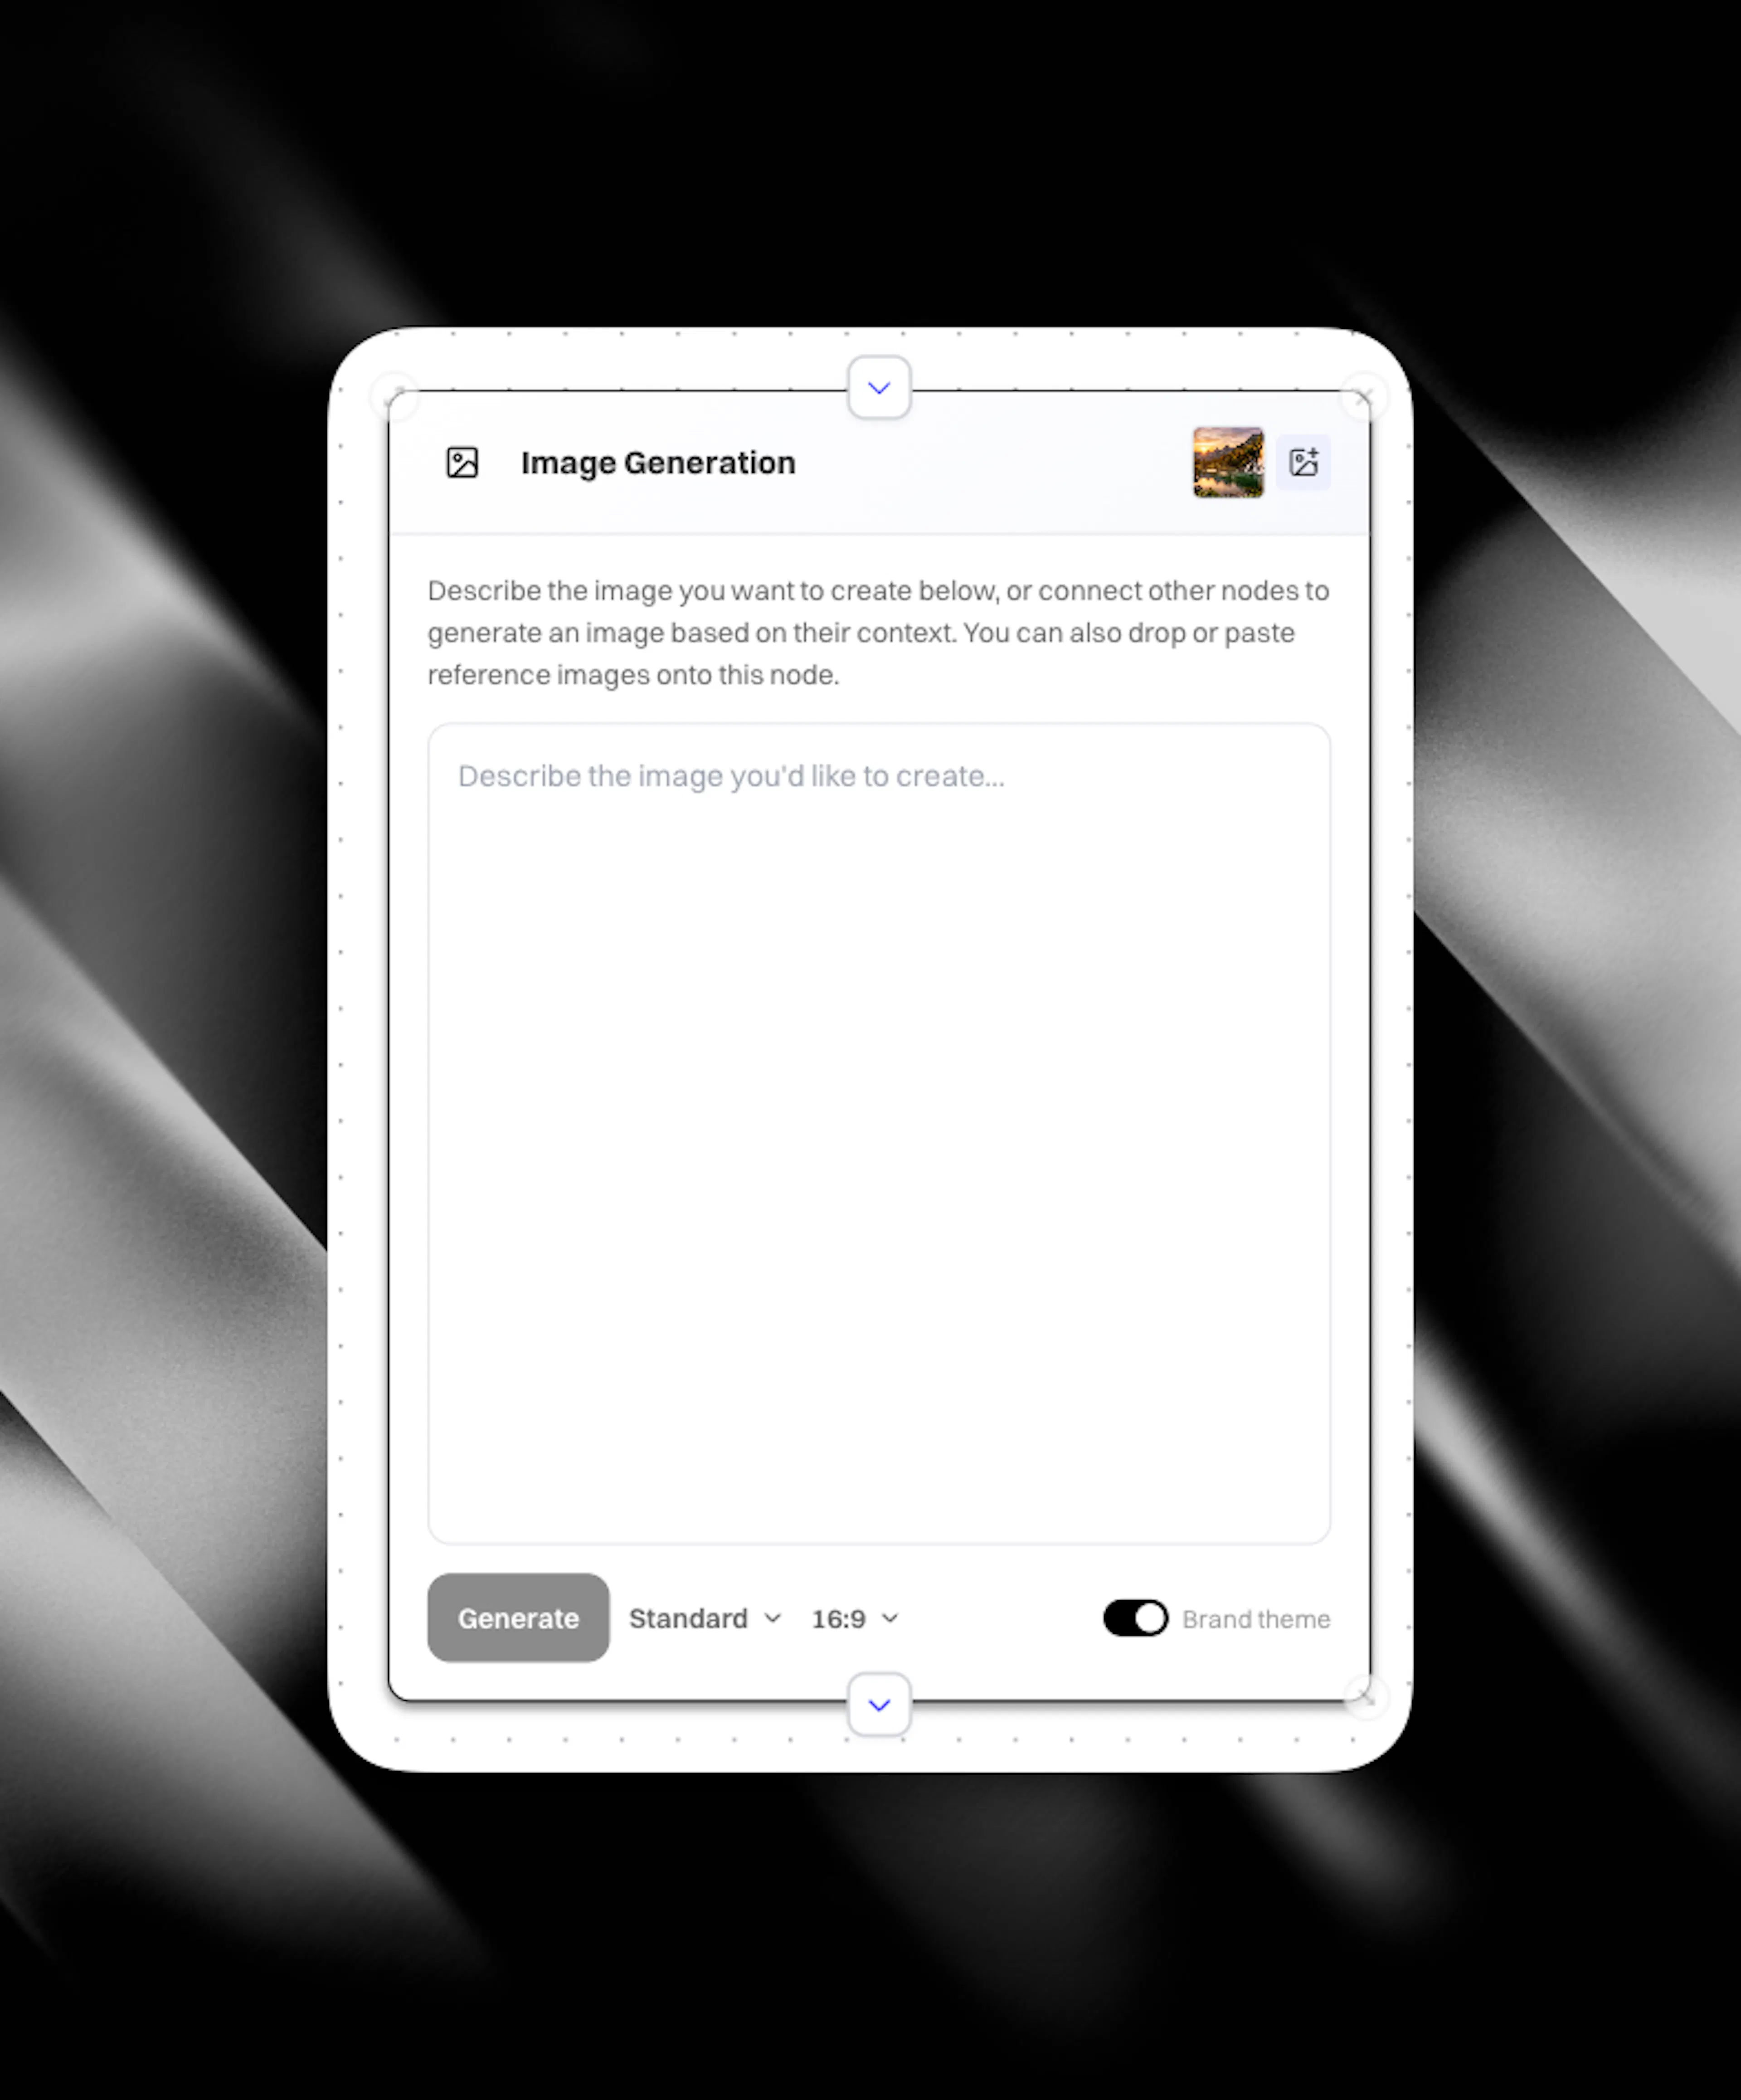
Add reference images (logos, products, scenery)
You can upload reference images by clicking the + icon in the top right corner of an image node. These can be images such as:
-
brand logos
-
product photos
-
scenes or visual styles you want to match
Your generated image prompt uses those references. For example, if you upload a logo and specify “incorporate this logo into a theme of X”, the logo appears in the generated visual.
You can also generate an image first, then attach reference images afterwards and regenerate.
You can then ask CASi to edit the image, or write your own edit instructions.
Edit the image after it is generated
Once you have an initial image, you can refine it with editing instructions.
In the edit flow, you can enter instructions that describe what to change.
For example:
-
“Add a chair”
-
“Make the sky darker”
-
“Make it rain”
-
“Make it snow”
-
“Add a car”
You can also refine using a refining prompt that includes reference images.
If your first image shows a racing car, upload a reference image of yourself, then refine with instructions like “Put me in the car going around Le Mans at supersonic speed”. The refined image incorporates your reference and the requested changes.
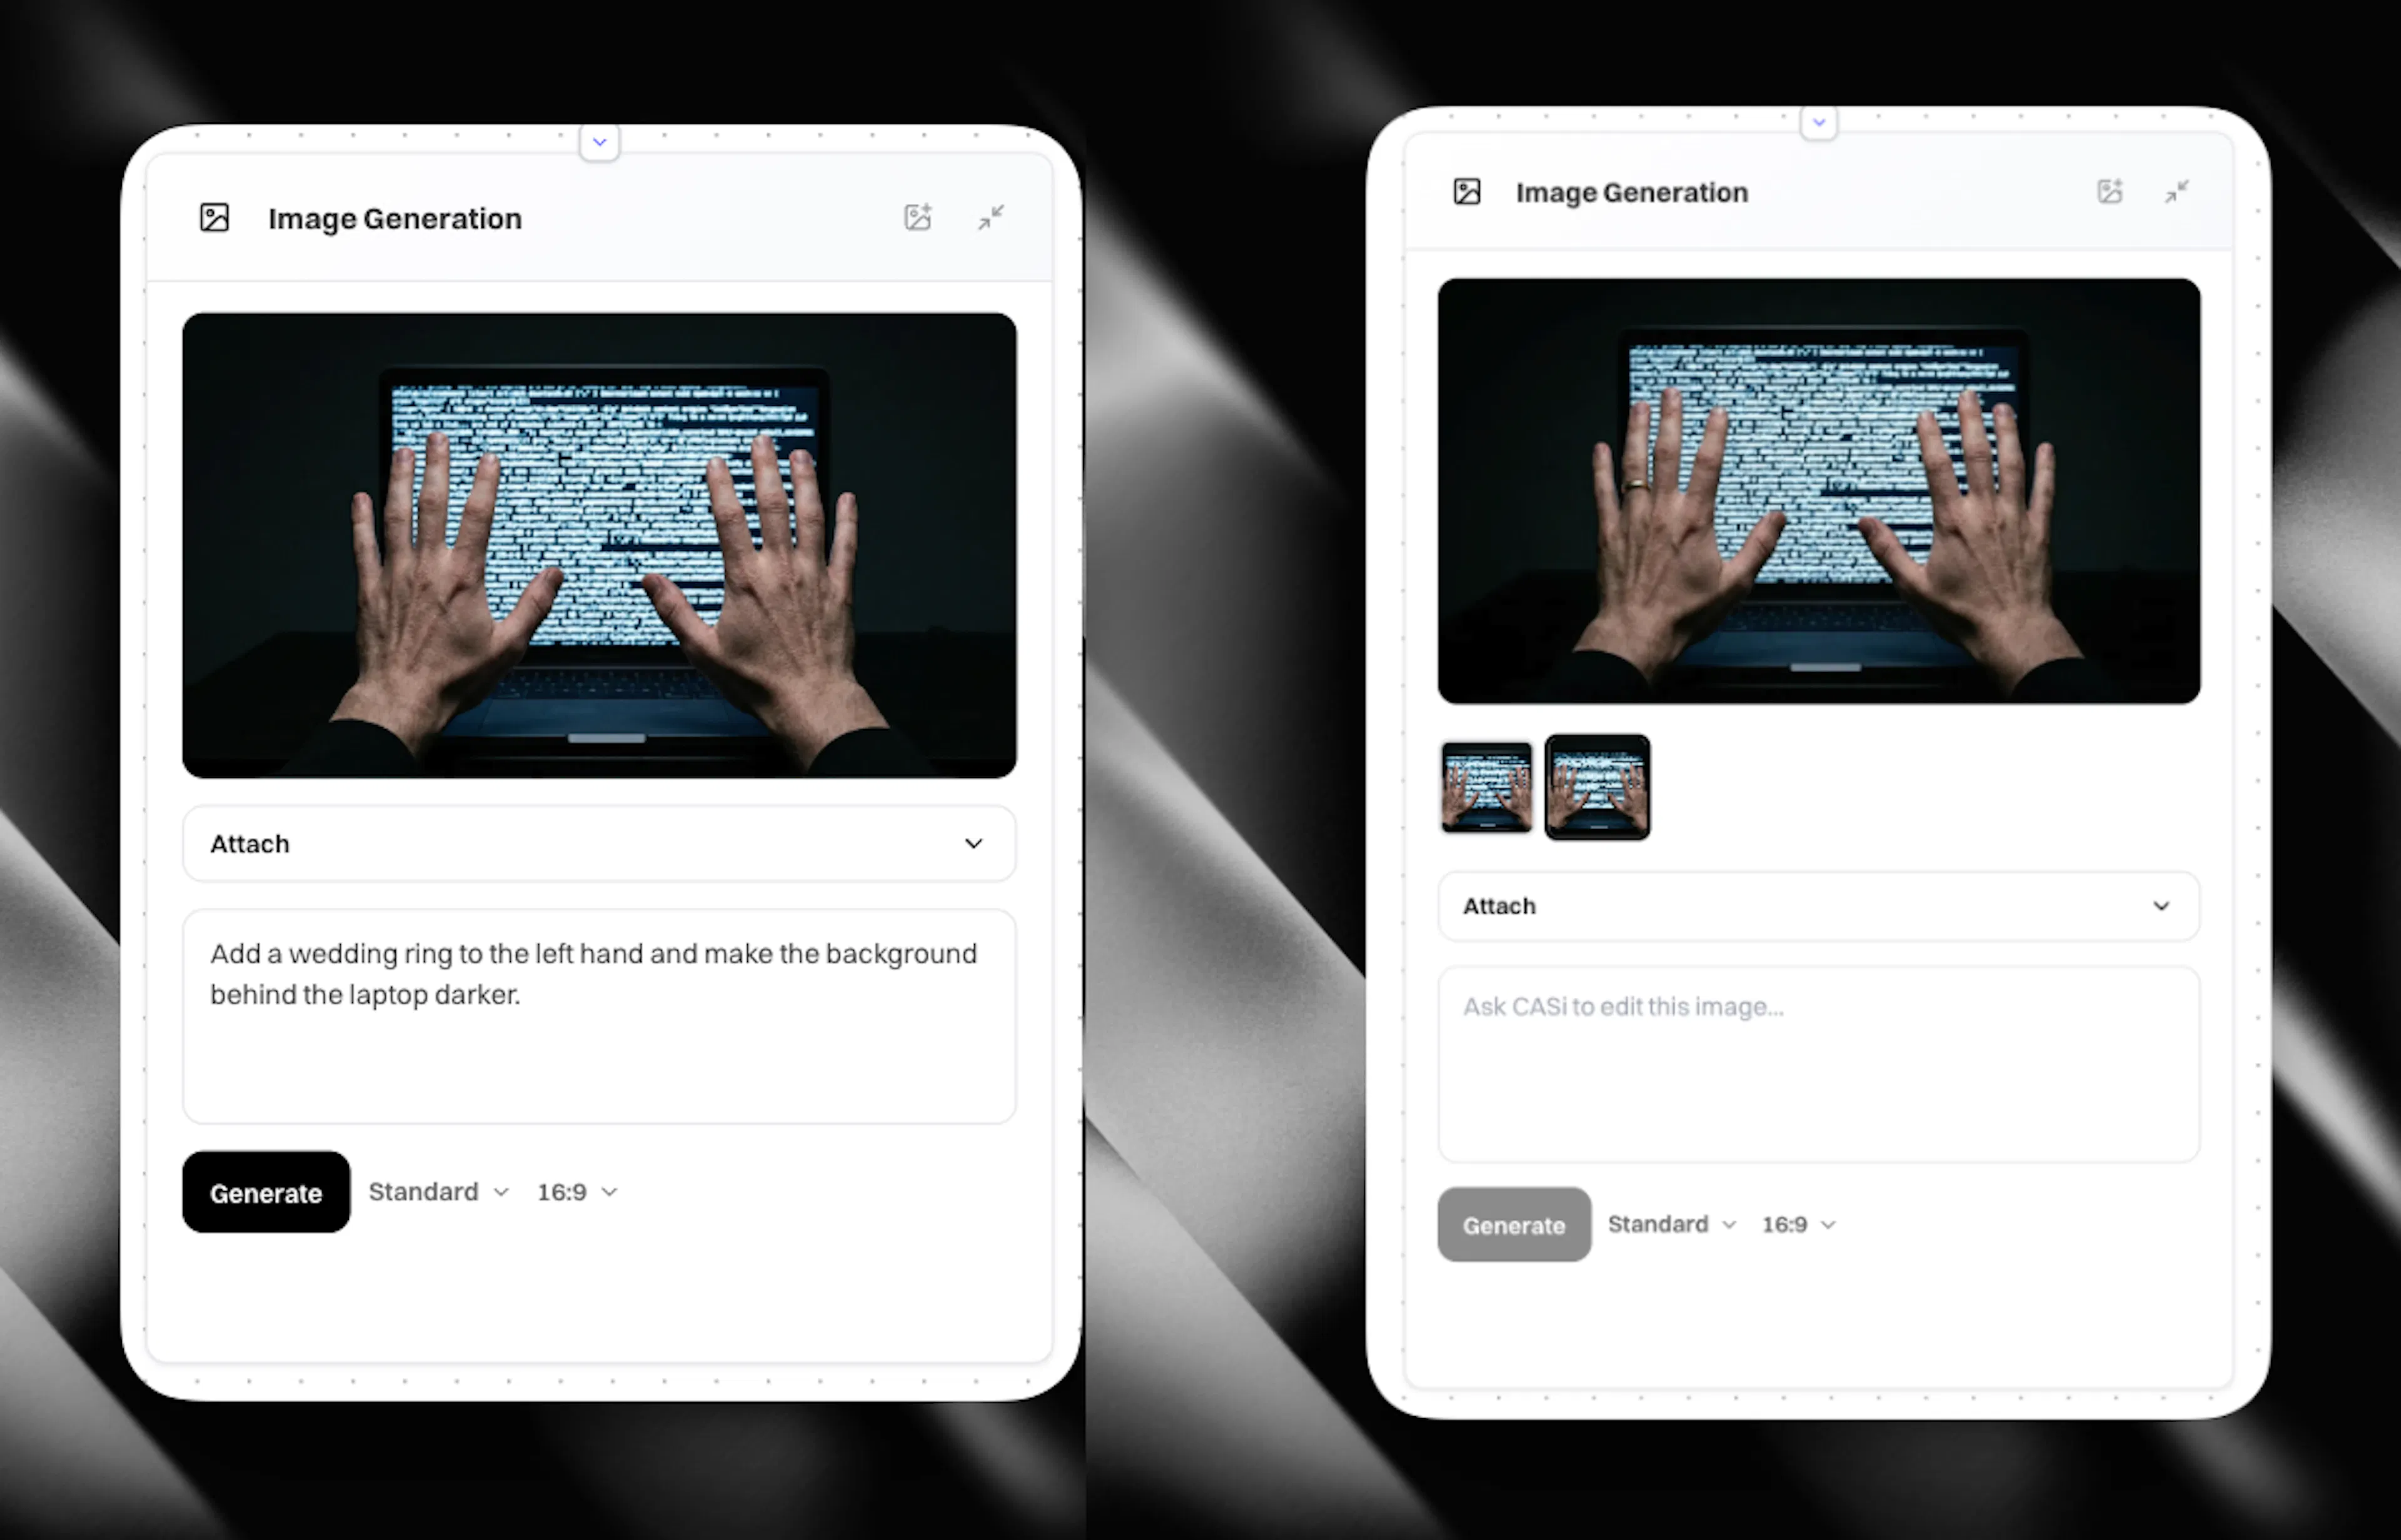
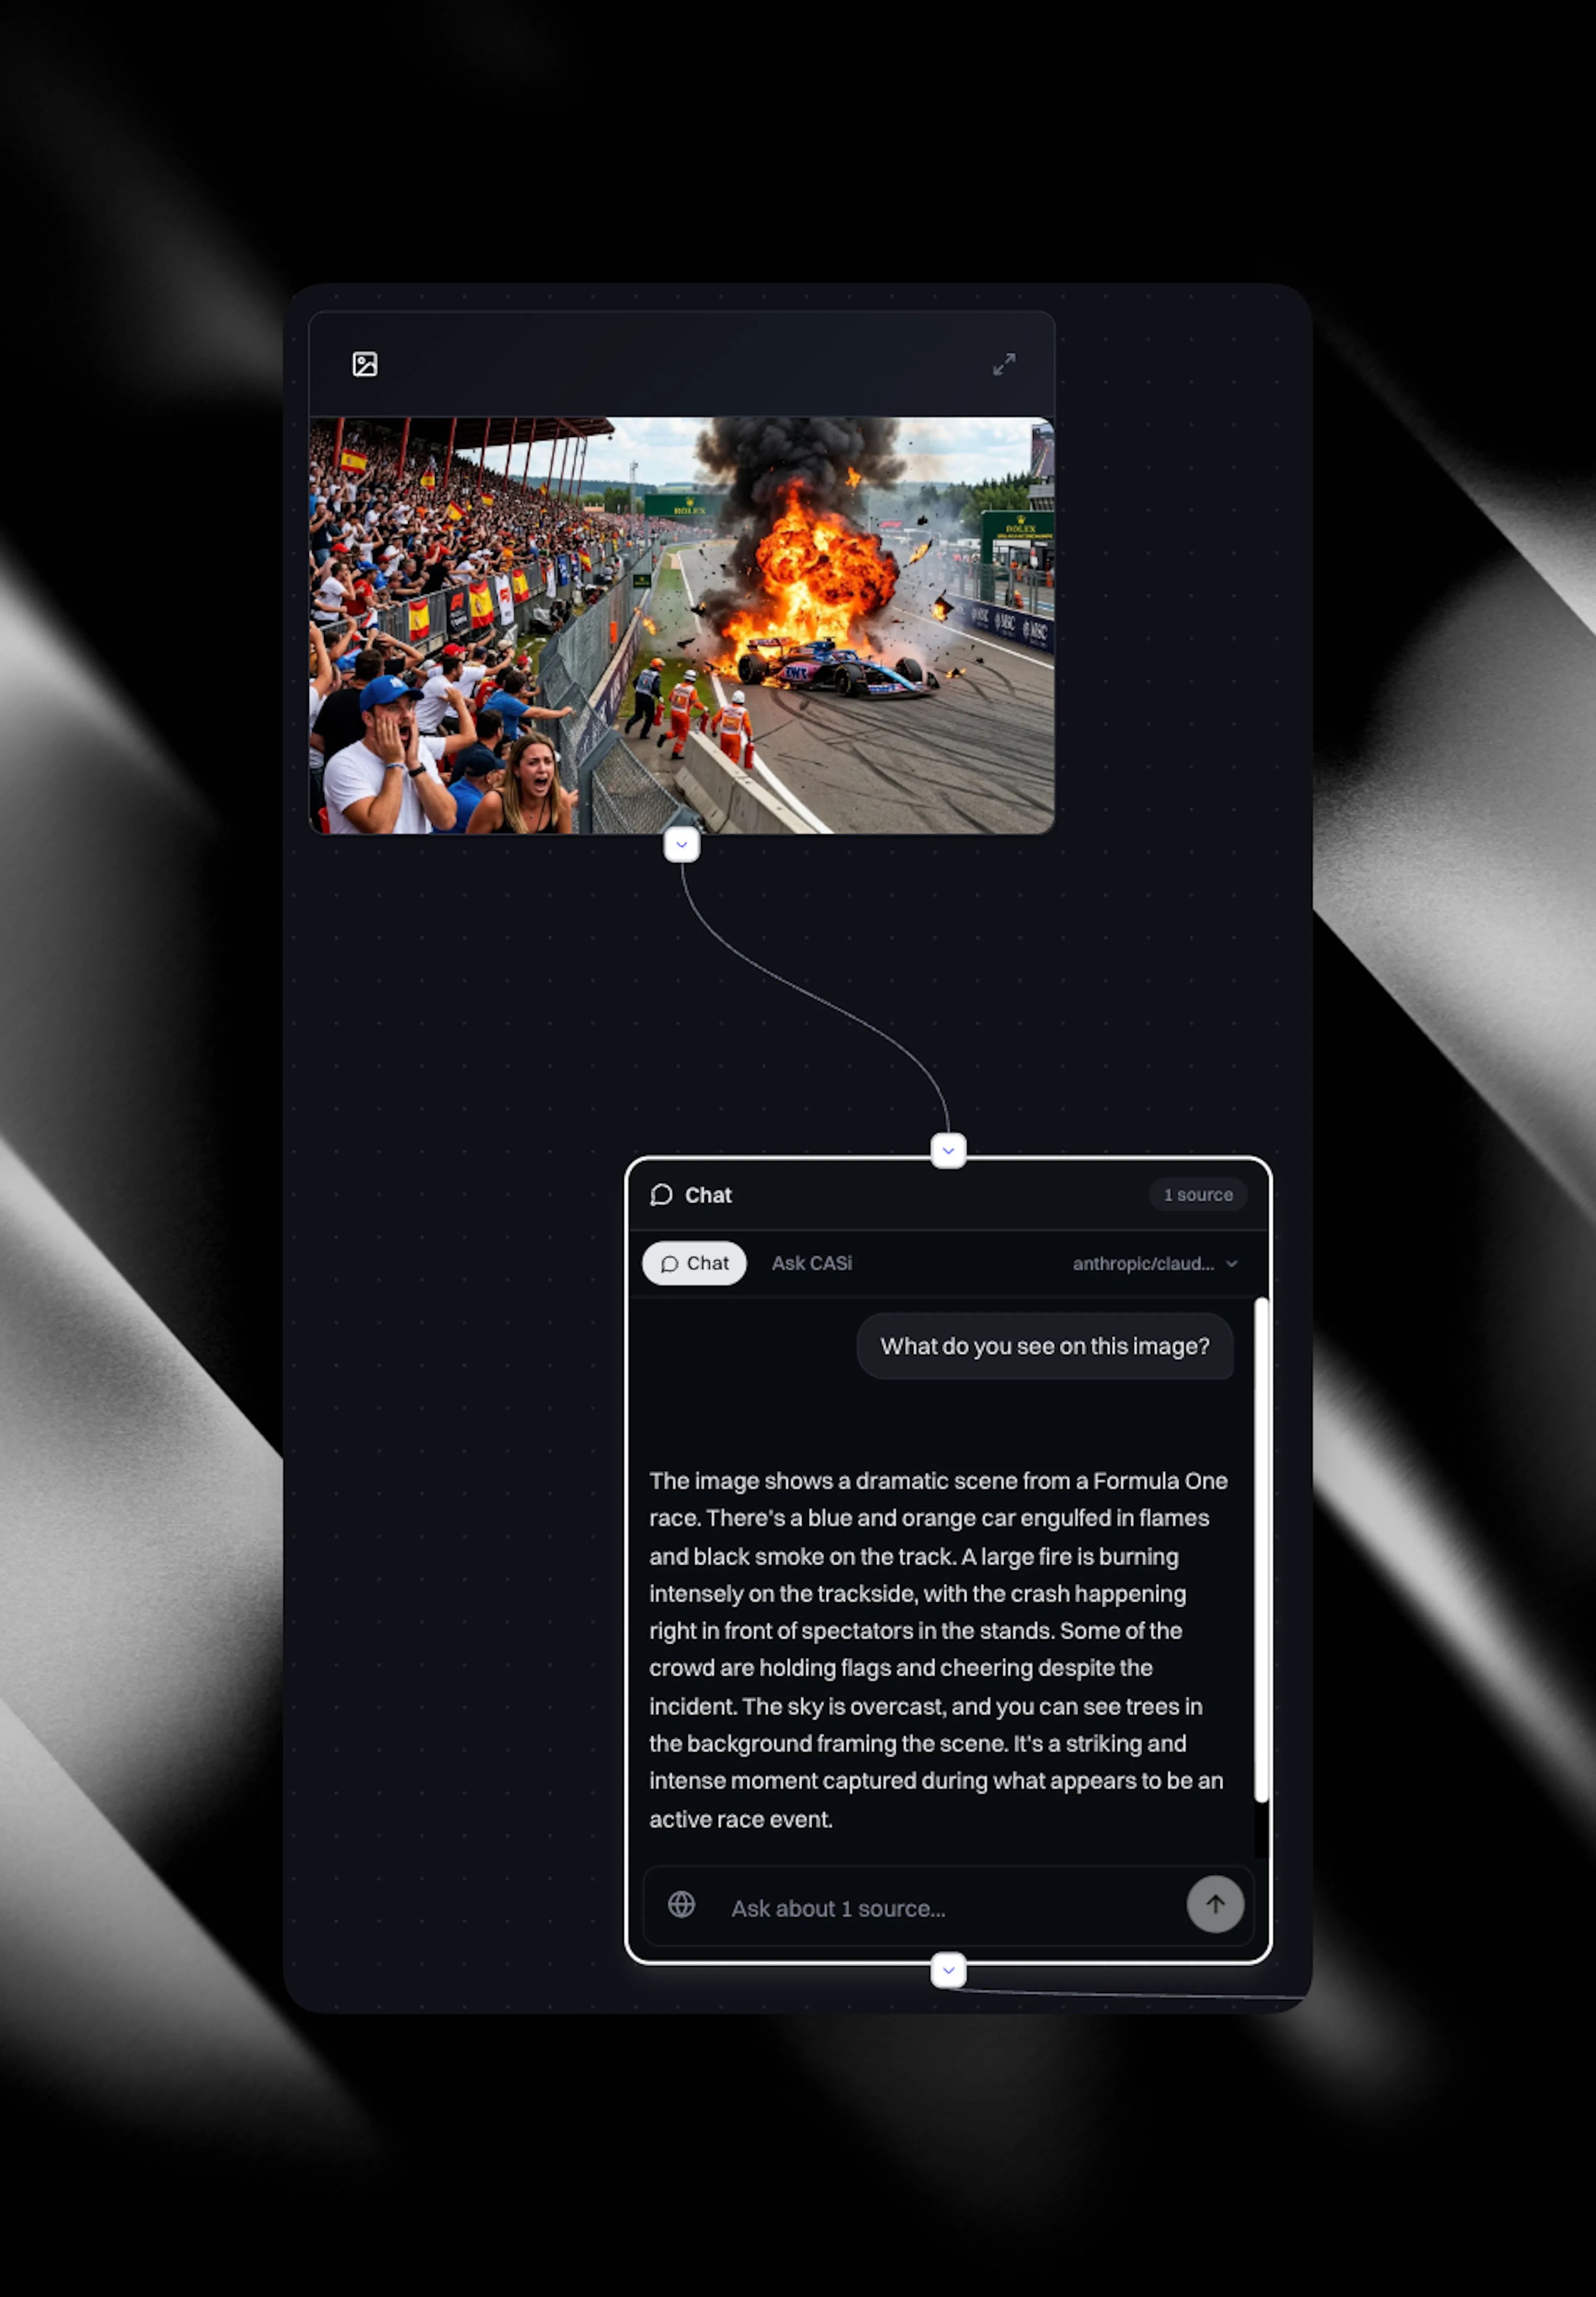
After images have been edited you are able to see them as thumbnails and iterate through them by clicking to select. Any selected image can be used as context to a chat node for example. Try connecting an image node that has an image to a chat and asking what it sees.
Turn connected work into image prompts
Whatever content you connect into the Image node becomes your input stream.
When you generate an image, the system summarises all connected inputs into an image prompt, then sends that prompt to the model to produce the visual.
You can connect multiple inputs. The more relevant context you include, the more aligned the output becomes.
Attach images to content
You can attach canvas-generated images to content items and social items.
General rules:
-
Attach up to two images per article.
-
An alt tag is added automatically.
-
You can select a generated image and click Attach to attach it to one or more items.
-
You can attach the same generated image to many articles, then remove (unattach) it from a specific item without deleting the underlying Image node.
-
Deleting the Image node from the canvas does not remove the image from any article or social item it is already attached to. The image stays in place on those items. What you lose is the canvas-side view, so you cannot reopen, regenerate, or reattach that image from the canvas afterwards.
In the content editor, when you open the image section of an attached item, you can see the one or two images you added.
Use cases
-
Concept illustrations that advance the argument of your article
-
Competitor comparison visuals built from tracked positioning data
-
Data visualisations grounded in research findings
-
Diagrams and flows that explain a product or process
-
Once a social or content draft is ready - open a Cortex canvas and add the content item. Connect an image node to the content and click 'generate brief'. Read through the brief, decide if you want brand theme on or off and then click 'generate' to get a stunning image that is designed for your content item.
For in-editor image generation with variants and branding controls, see Napkin AI.