
Content Profiles
Create targeted content by defining exactly who you're writing for and why.
Content Profiles give you granular control over every piece of content Eclipse produces. Instead of writing from a generic prompt, each profile defines a specific keyword, a specific audience, and a specific product angle. The result is content written to a defined reader for a defined purpose.
Why profiles matter
Most content platforms treat every article the same way. You type a topic, pick a tone, and hope the output fits. Content Profiles work differently.
Each profile captures the full context CASi needs: who the reader is, what industry they work in, what product you're positioning, and which keywords you're targeting. Because the inputs are specific, the output is specific. Readers get content that speaks to their situation, not generic material that could have been written for anyone.
Breaking down your products
Your product list goes further than you think. A single service can become multiple Content Profiles because the buyer changes.
Take a consultancy that offers financial advisory. That's one service. But the founder selling to Series A startups faces different questions than the CFO at a mid-market manufacturer. The startup founder cares about runway and investor reporting. The CFO cares about compliance and cost control. Same service, completely different content.
Each of those audiences gets its own Content Profile. The keywords are different. The ICP is different. The article type might be different. The result is content that lands with each reader because it was written for them from the start.
What each profile contains
-
Profile name for your own reference.
-
Product/service describing the specific angle you're positioning, not just the top-level product name.
-
Target industry so terminology and examples match the reader's world.
-
Target audience defining the role or function of the person reading (CMO, founder, procurement lead, etc.).
-
ICP (Ideal Customer Profile) giving CASi a detailed picture of the exact person reading the article. This shapes depth, framing, and language during the writing process.
-
Target country so content is localised for the right market.
-
Focus keywords that this profile targets for organic growth.
-
Article type setting the format and structure (how-to, comparison, thought leadership, etc.).
Medium profiles and your CV
When a Content Profile targets Medium as its article type, you can upload your CV or resume and attach it to the profile. CASi then draws on your real background, experience, and career history when writing. This means first-person thought leadership articles are grounded in factual information about you rather than guesswork.
Upload your CV once, then apply it to any Medium profiles you like. CASi weaves your experience naturally into articles that need a personal, authoritative voice.
Medium here refers to the article style, not a direct publishing integration. A common workflow is to publish the article to your own site first, then share it on Medium separately with the correct canonical setup there.
See Thought Leadership & Medium for the full workflow.
Creating a profile
-
Go to Content Profiles in the left sidebar.
-
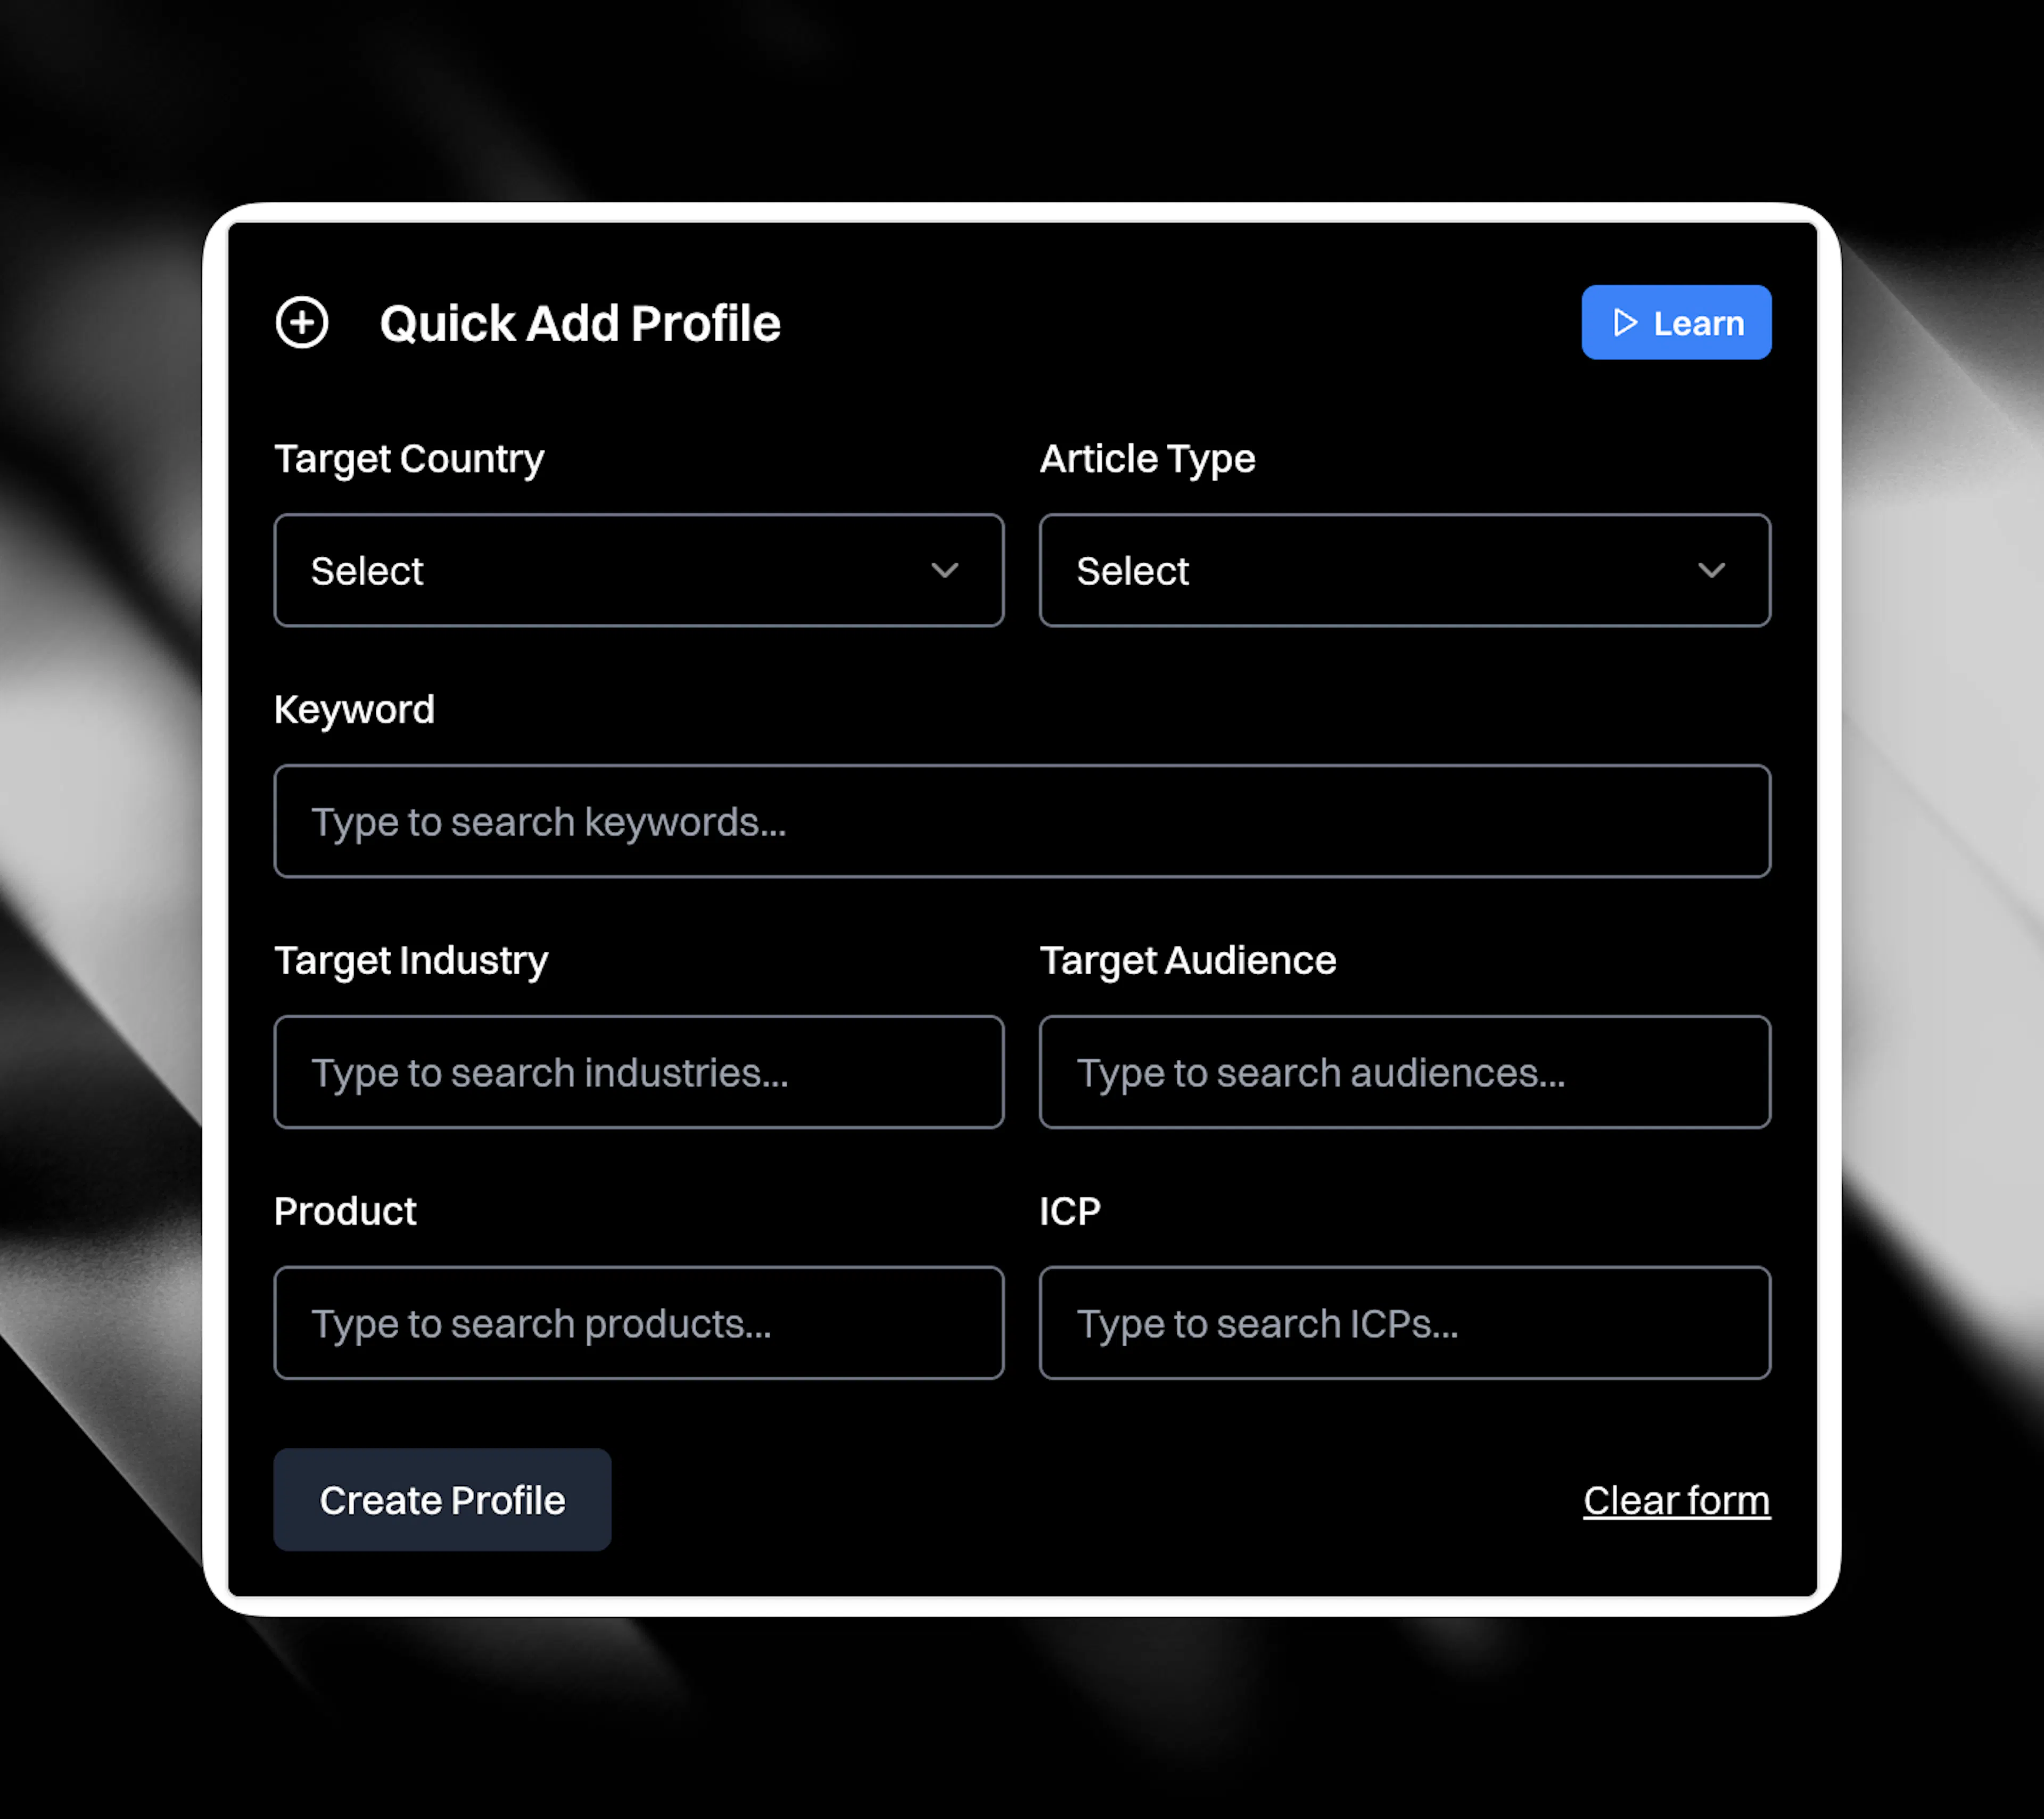
At the top of the page is the quick profile generator. You can populate it in two ways:
-
Click from your lists. Below the generator, you'll see your lists of products, ICPs, target audiences, target industries, and keywords. Click any item from any list and it fills into the generator automatically. This is the fastest route.
-
Type in a field. Type directly into any field to search across your existing products, ICPs, target audiences, and target industries. Select from the results to populate the field.
-
-
Select an article type from the dropdown.
-
Rename the profile if you want to.
-
Click Create Profile.
New profiles are always created in Draft status. You can create as many profiles as you need per client.

Using profiles to create content
When you click Create Article from the Content page, you select a Content Profile. CASi reads the profile's product, audience, ICP, industry, keywords, and article type, then researches and writes from that full context.
You can also select a Content Profile when creating an article from Cortex Canvas. The profile rules apply on top of whatever research you've assembled on the canvas.
Publishing and scheduling
To activate a profile, click Publish. Only published profiles can be scheduled.
Once published, you can assign the profile to a day of the week. Each day can only have one profile running, so available days are clickable and already-assigned days are greyed out. Scheduled profiles generate articles automatically on their assigned day. The articles land in your content table with a New status, ready for your review.
Scheduling is optional. You can also use published profiles manually when creating articles from the Content page. Either way, nothing goes live without your sign-off.
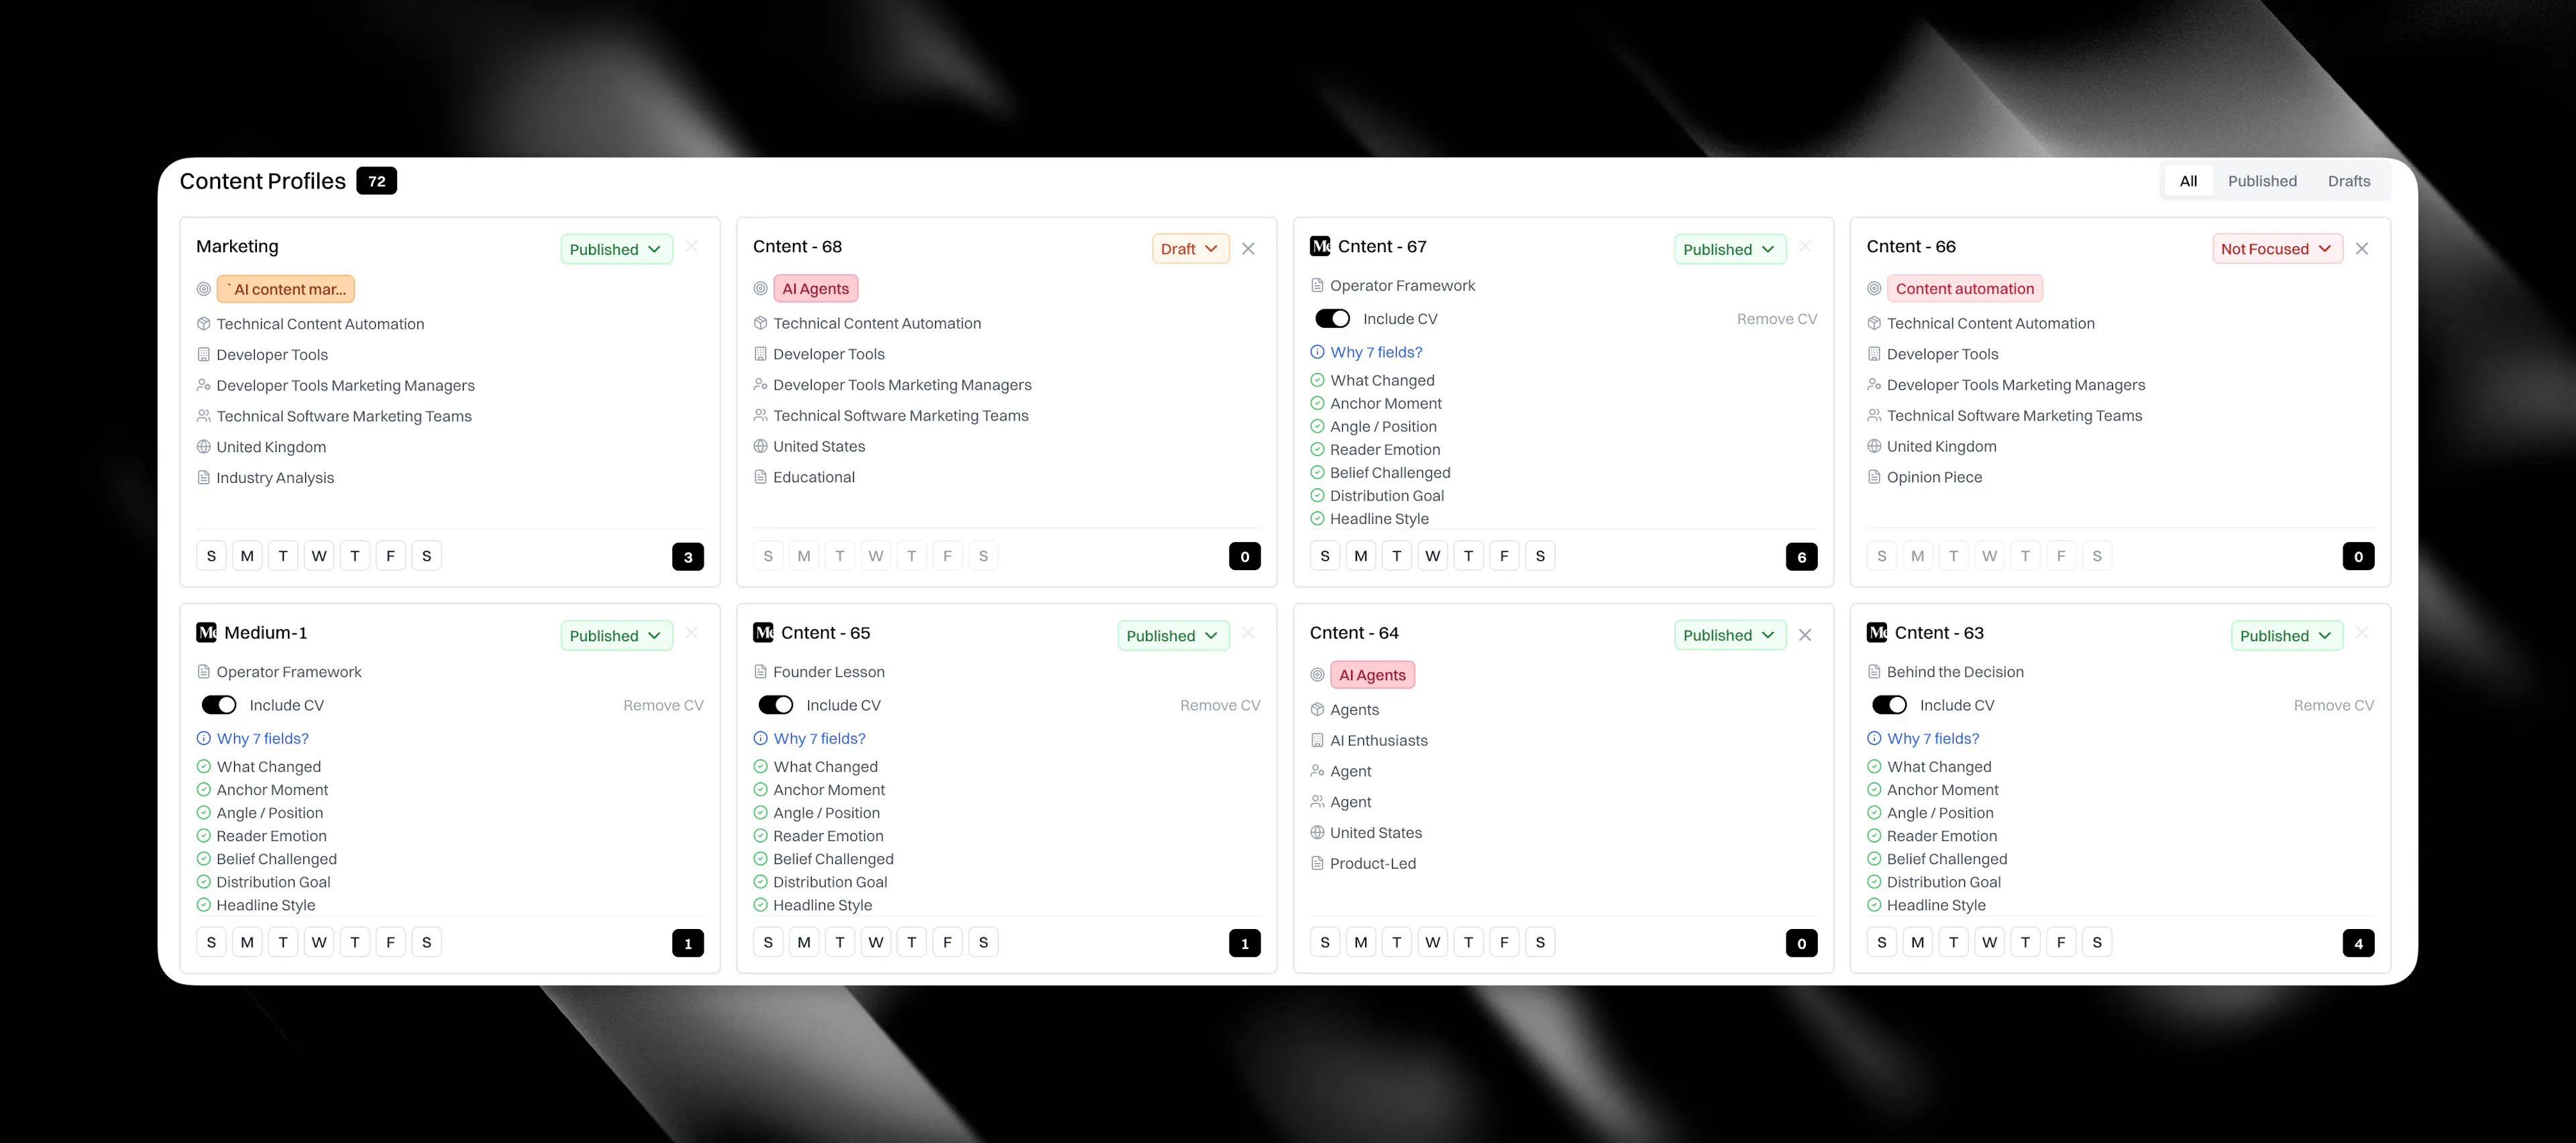
Managing profiles
Your profiles appear at the bottom of the page. Filter by status (Draft or Published) to find what you need. Click any profile to edit its settings. Changes take effect on the next article generated from that profile. You can also delete profiles you no longer need.